Do you want to Unlink/ Remove your Aadhaar Card from Paytm? Then you are in the right place.
The Aadhaar card is a critical document that is linked to many services in India, including online payment platforms like Paytm. Sometimes, you may want to unlink your Aadhaar card from Paytm for privacy or security reasons, or simply because you no longer need the link.
Recent orders from the supreme court have made it clear that citizens are no longer required to link their Aadhaar Card Details with their Digital Wallets, Bank Account, Mobile Number, etc.
If you have already shared your Aadhar Details with paytm for KYC then don’t worry as in this Article I am going to share How you can Remove your Aadhaar/KYC from Paytm Account Easily. So without further ado, let’s get started.

1. Open your Paytm Mobile App and Click on three Horizontal white Lines from the Top Left Corner.
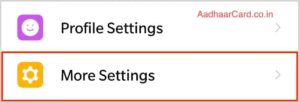
2. Now Click on your Name displayed above the QR Code or Scroll Down and Click on “More Settings.”
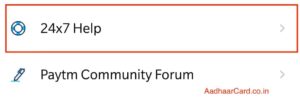
3. Scroll Down to the Bottom Last Part and there Click on “24×7 Help.”
4. Scroll Down until you see a section called “Contact 24×7 Help”.

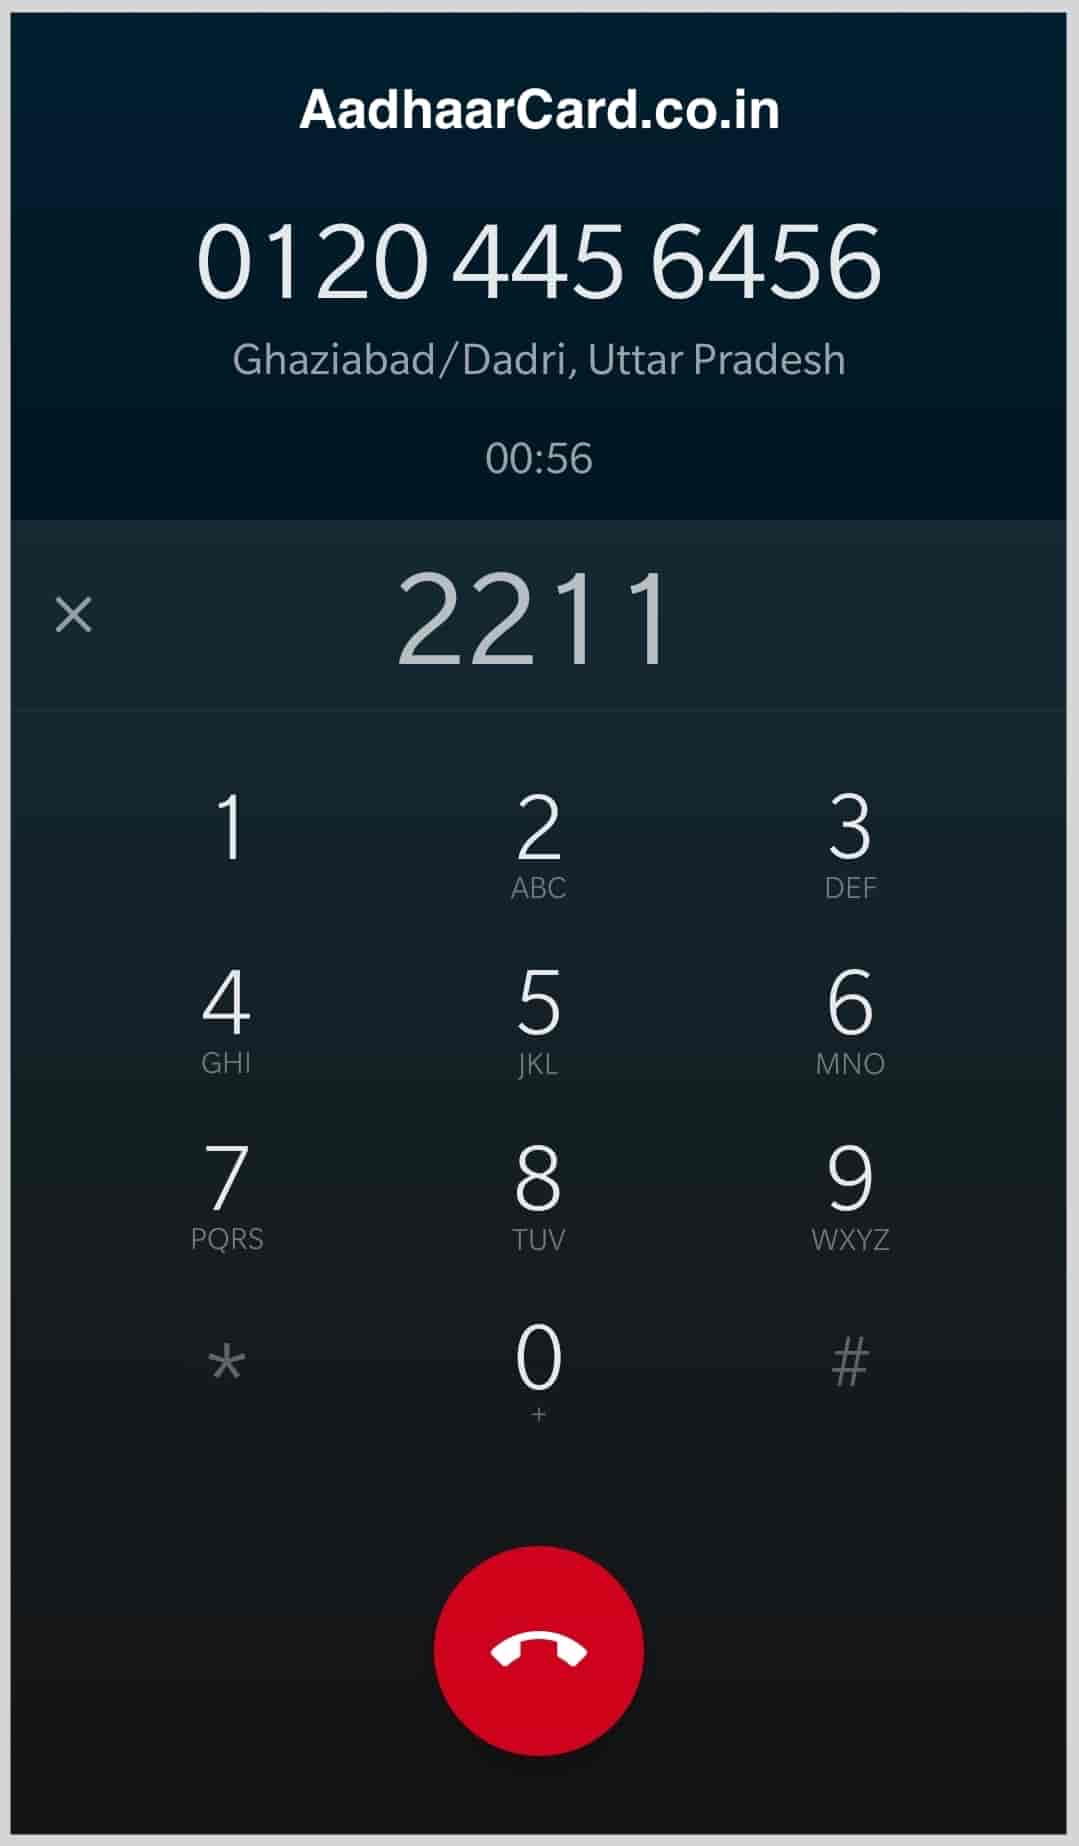
5. There you will see a lot of Numbers, Click on the one under “Bank, Wallet & Payments” and call that number.
6. Now you will be asked to select the language, Press 1 for English, 2 for Hindi, etc.
7. Then Press 2 for KYC related Problems and Questions.
8. If you want to Get Information from the Number, you are calling from then press 1 otherwise if you want to get information about some other number then press 2.
P.S. – In simple words, if you want to remove KYC Number from the number you have called from then press 1 else press 2.
9. Now You will be informed that you are already a verified KYC customer and if you wish to talk to a representative then Press 1.
10. Now you will be asked to Either Enter your Passcode or Wallet Transaction ID. For Entering Passcode Press 1 or For Entering Wallet Transaction ID press 2.
Note – If you haven’t set your Passcode till now then you do it from Paytm App or by Pressing 1 in Step 10, the computer will ask you to set a Passcode.
11. After Successfully Entering Either of the Details you call will be transferred to the Paytm Agent.
12. Inform the Agent that you want to Unlink your Aadhaar Card from Paytm. The Agent will suggest you not to Delink your Aadhaar as Delinking will remove your Full KYC and if in future you want to link your Aadhar with Paytm then you have to visit the Nearest Paytm Centre.
Tell him/her to proceed the request as you don’t want your Aadhaar to be linked by any Wallet.
P.S. – He may Even Ask some Identity Questions like your Email, Address Etc.
12. If you have a registered Email, then you will receive an Email on your Registered Email Asking requesting you to send two pictures of your Aadhaar For Further Verification.
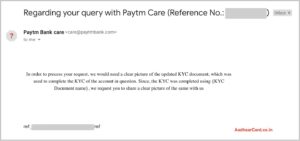
If you haven’t registered your Email Address with Paytm, then the Agent will ask for your Email Address, and you will receive an Email as well.
13. You have to Click two Clear Pictures of your Aadhaar Card, one of the Front side and other of the Backside.
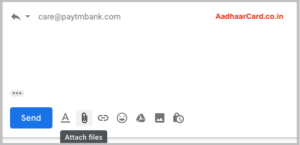
14. Send these two clear pictures(as files) as a reply to the Email you received in Step 12.
15. After sending the Pictures, you will get another Email asking you to confirm your Request about Delinking, Confirm it and your Request will be placed.
16. Done, Your Aadhaar Details will be removed from your Paytm Account in the next 72 Hours.
Why Unlink Aadhaar from Paytm?
While linking your Aadhaar card with Paytm can help with KYC (Know Your Customer) verification, there might be various reasons to unlink it, such as:
- Privacy Concerns: You may prefer not to have your Aadhaar linked to all your payment transactions.
- Change of Preferences: You might want to update your KYC details or payment methods.
- Security Reasons: If you think your Aadhaar information might be compromised, it’s a good idea to unlink it.
Now, let’s look at how you can unlink your Aadhaar from Paytm.
Steps to Unlink Aadhaar from Paytm
You can unlink your Aadhaar from Paytm through the Paytm app or website. The process is simple and can be done in a few easy steps.
Step 1: Open Paytm App
- Launch the Paytm app on your smartphone.
- Log in to your Paytm account if you are not already logged in.
Step 2: Go to the Profile Section
- Tap on the Profile Icon in the top left corner of the app (it’s usually your profile picture or initials).
- Scroll down and find the ‘KYC’ section under the Account Settings.
Step 3: Check Aadhaar Link Status
- In the KYC section, you will find an option that shows whether your Aadhaar is linked to your Paytm account or not.
- If your Aadhaar is linked, you will see a prompt stating “Aadhaar Linked”.
Step 4: Unlink Aadhaar
- If your Aadhaar is linked and you want to unlink it, tap on the Aadhaar Linked option.
- Look for the “Unlink Aadhaar” option, and click on it.
- Follow the on-screen instructions to confirm the unlinking of your Aadhaar.
- You may be asked to verify your identity through OTP (sent to your registered mobile number).
Step 5: Confirm the Unlinking
Once you confirm the action, Paytm will process your request to unlink your Aadhaar from your account. This may take a few moments. After completion, you will receive a confirmation notification stating that your Aadhaar has been successfully unlinked.
Step 6: Verify the Unlinking
Once the unlinking process is completed, you can go back to the KYC section of your Paytm account. If the Aadhaar card is no longer linked, you will see an option to Link Aadhaar instead of Aadhaar Linked.
Alternative Method: Unlink Aadhaar via Paytm Website
You can also unlink Aadhaar from your Paytm account using their website.
- Go to the Paytm website: https://www.paytm.com.
- Log in to your account.
- Go to Profile settings, and then find the KYC section.
- If Aadhaar is linked, there will be an option to unlink it.
- Follow the on-screen instructions to confirm the unlinking process.
Things to Keep in Mind
- KYC Requirements: Unlinking your Aadhaar may affect your Paytm KYC status. Without Aadhaar linkage, you may have limitations on the transactions and features you can use on Paytm, especially for wallet and banking services.
- Document Verification: You may be asked to submit alternative KYC documents if you want to continue using the full services on Paytm.
- Legalities: According to the Supreme Court ruling, linking Aadhaar to various services (such as Paytm) is optional. Unlinking does not violate any regulations as long as you can provide alternate verification details.
What to Do After Unlinking Aadhaar?
Once your Aadhaar is unlinked from Paytm, you may be asked to:
- Complete a new KYC if necessary (with other documents like PAN card, passport, or voter ID).
- Add a new payment method (like a bank account) if you were using your Aadhaar-linked bank account for payments or withdrawals.
Conclusion
Today I talked about How you can easily Unlink your Aadhaar Card from Paytm as it is not mandatory to link your Aadhar with any wallet. If You have earlier linked your Aadhaar as KYC but now want to Remove it from Paytm, then this is the easiest method as of now Paytm doesn’t have any option in the App to delink your Information. Hope you liked this Post if you have any query then comment below and don’t forget to share it with your Friends and Loved ones.